
Getting Started
This manual walks through every part of Patrimoine, from creating an account to reading your net worth charts. You can read it whether or not you’re signed in.
For the complete feature list, see Features, and to install Patrimoine like a native app, see Install as an app.
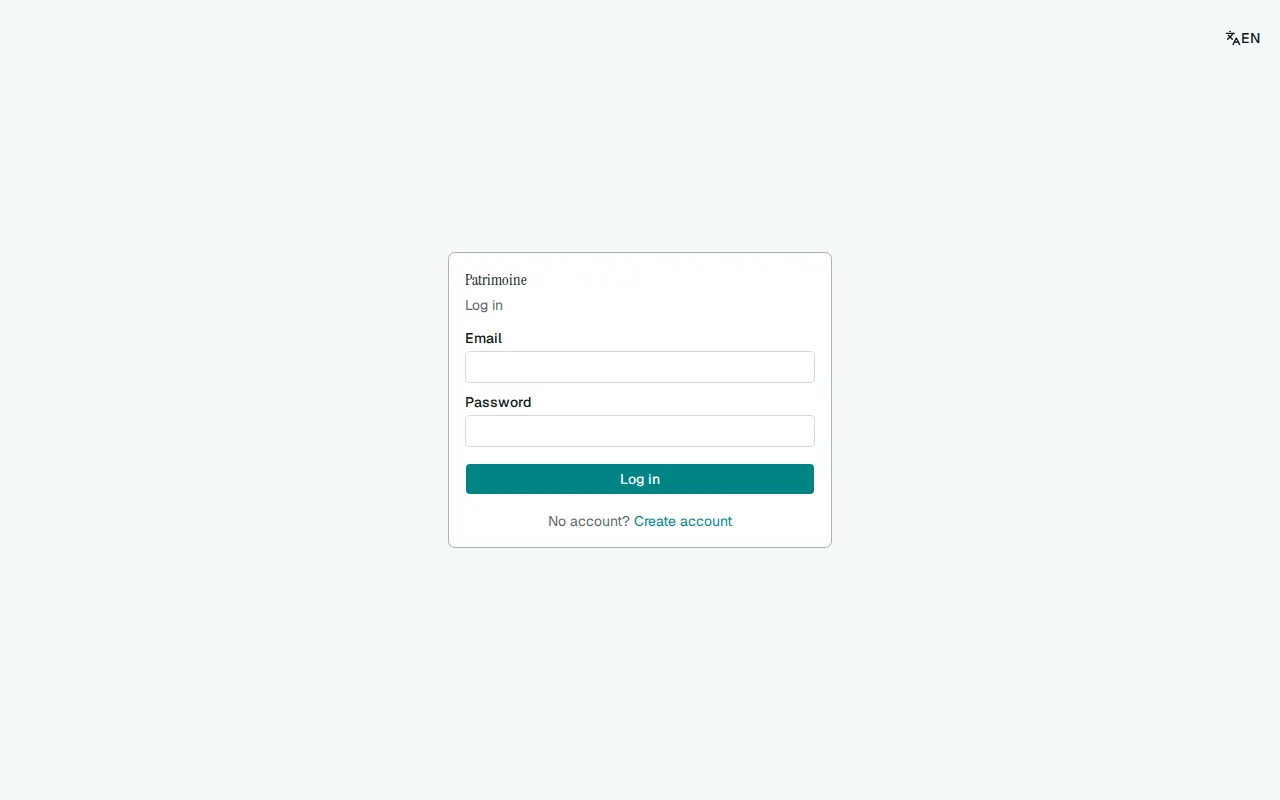
Creating an account
Section titled “Creating an account”If the administrator has enabled registration, the Login page shows a Register link: provide an email address and a password of at least 8 characters (a display name is optional). This creates a local account and signs you in immediately. When registration is off, ask an administrator for an invitation (see User management).
Signing in with single sign-on
Section titled “Signing in with single sign-on”If this instance’s administrator has enabled OIDC single sign-on, the Login page shows an extra sign-in button below the local email/password form.
Forgot your password?
Section titled “Forgot your password?”When the administrator has configured outgoing email on this instance, the Login page shows a Forgot password? link that leads to a self-service reset form where you can request a reset link by email. A new link can be requested every five minutes; asking again sooner sends nothing, and a new link replaces the previous one.
Your first steps
Section titled “Your first steps”- Create your first account (for example a checking account) from the Accounts page.
- Record your first balance snapshot from the new snapshot entry page.
- After signing in you land on the Dashboard, whose summary cards you can drag into the order you prefer.
Guided tour
Section titled “Guided tour”The first time a new account opens the Dashboard, a small card offers a short tour of the main areas. Choose Take the tour to start it or Skip to dismiss the card. Either answer is remembered, so the card does not come back.
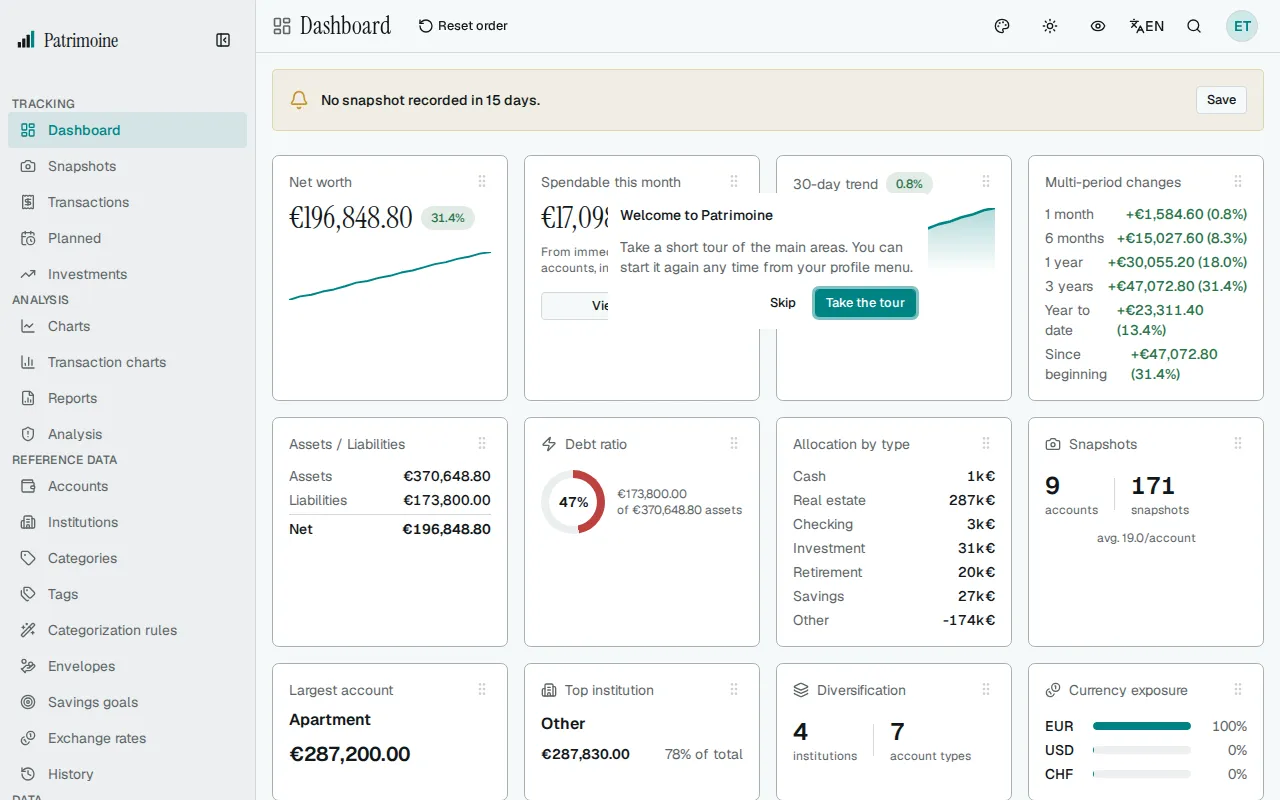
The tour has five steps: the dashboard, accounts, transactions, privacy mode and the command palette. Each step points at the matching part of the screen and leaves the rest of the page usable.
- Use Next and Back to move between steps; the last step ends with Done.
- Press Escape or the close button to stop at any time. Clicking elsewhere does not end a step.
- Leaving the page also ends the tour.
To see it again, open the profile menu and choose Start the tour. This does not change whether the card is offered.
Finding your way around the menu
Section titled “Finding your way around the menu”On desktop, the side menu groups pages into four categories:
- Tracking: Dashboard, Snapshots, Transactions, Planned, Investments.
- Analysis: Charts, Transaction charts, Reports, Analysis.
- Reference data: Accounts, Institutions, Categories, Tags, Payees, Categorization rules, Envelopes, Savings goals, Exchange rates, History.
- Data: Import, Export, Summary.
System, Settings, Profile and Audit Log are in the profile menu (see “The top navbar” below).
Collapsing the side menu
Section titled “Collapsing the side menu”Click the chevron at the top of the panel to collapse the menu to an icon strip — hover an icon to see its label as a tooltip. The collapsed/expanded state is remembered across sessions.
On mobile
Section titled “On mobile”A bottom bar shows five primary shortcuts (Dashboard, Snapshots, Transactions, Investments, Charts) plus a More button that opens the remaining pages (Tracking, Analysis, Reference data, Data) in a sheet.
The top navbar
Section titled “The top navbar”A bar runs across the top of every page: it carries the page’s icon and title, plus the active tab’s name on tabbed pages.
- On a wide screen, the appearance, light/dark, privacy and language controls sit to its right; on a narrow screen, they move into the profile menu instead.
- The round initials button at its far right opens a menu with Profile, Settings, System, Audit Log, Start the tour, Help, About and Log out, plus an Administration entry for administrators.
- The bell shows your notifications (alerts and reminders) with an unread badge; see Settings and profile. The search button opens the command palette.
- On a narrow screen, a page’s own action buttons collapse behind a single overflow button in that same bar.
Row actions
Section titled “Row actions”Each row of a table or list has its own actions. On a wide screen, Edit and Delete are icon buttons at the end of the row. Some rows add more: Split on a transaction sits between them, and rarer actions go in a ⋮ menu. Account, snapshot, holding and dividend rows always use the ⋮ menu.
On a narrow screen the actions fold into one ⋮ menu named after the row, for example “Actions for Groceries”. A few frequent buttons stay beside it, such as marking a planned transaction as paid.
Delete only asks for confirmation; nothing is deleted until you confirm. When Delete is unavailable, hover or focus it to see why.
Keyboard shortcuts
Section titled “Keyboard shortcuts”On desktop:
- Ctrl+1 through Ctrl+9 jump straight to a fixed set of pages (Dashboard, Accounts, Snapshots, Charts, Import, Export, System, Settings, History).
- Ctrl+B toggles the side menu between expanded and icon-strip.
- Ctrl+N opens a new snapshot entry from anywhere.
- Ctrl+/ or ? opens the list of keyboard shortcuts.
- Alt+P hides or shows every amount (see Privacy mode below).
- Ctrl+K opens the command palette (see Command palette below).
- Once you are signed in, the first Tab press on any page shows a Skip to main content link; press Enter on it to move the focus past the menus to the page itself.
Privacy mode
Section titled “Privacy mode”Click the eye button in the top navbar (in the profile menu on a narrow screen), or press Alt+P, to hide every amount on screen, for example when someone else can see your display. Click it or press Alt+P again to show them.
- Dates, counts and percentages stay visible, and charts keep their shape.
- Values you type into a form stay visible.
- The setting is remembered on this device only.
- It only changes what is displayed: your data is untouched. The PDF report you download from the Summary page is masked as well; the files the server produces (CSV, Excel and OpenDocument exports, and backups) are never masked. It is not a security feature.
Command palette
Section titled “Command palette”Press Ctrl+K (or Cmd+K on Mac) from anywhere, or click the search button in the top bar, to open the command palette. It lists commands above your search results:
- New snapshot, New transaction, Toggle light/dark mode and Toggle privacy mode.
- Go to a page: any page of the side menu, plus System, Settings, Profile and Audit log.
- Go to a Settings or Profile section, for example “Go to Profile: Webhooks”: opens Settings or Profile at that section.
Type to narrow the commands (capitals and accents are ignored) and to search accounts, institutions, categories, tags, savings goals, and transactions by name. Use the up and down arrow keys to move, Enter to run the highlighted row, and Escape to close.